Degreasing is the step that determines whether a cabinet paint job holds for a decade or fails inside the first year. Kitchen grease builds into a thin, nearly invisible film that destroys paint adhesion. Use a dedicated degreaser like TSP substitute or Krud Kutter, not dish soap. Two passes followed by a clean water rinse is the standard. No primer overcomes a greasy substrate, so this step cannot be skipped or shortened.
If your painted kitchen cabinets are peeling, chipping, or coming apart at the edges, the most likely cause is not the paint. It is what was on the surface before the paint went on.
Degreasing is the step most DIY cabinet paint jobs skip or underdo. It is also the step that determines whether the paint holds for a decade or fails inside the first year. Across Auburn and Placer County, I have seen this play out enough times to know that it deserves its own dedicated guide.
Why Is Degreasing Kitchen Cabinets Before Painting Non-Negotiable?
Kitchen cabinets accumulate grease in ways you cannot always see. Every time you cook, airborne grease particles settle on every nearby surface. Oils from your hands transfer to cabinet doors every time you open and close them, hundreds of times a year. Over time this builds into a thin, nearly invisible film that covers every surface you are about to paint.
Paint bonds to the substrate. If there is a layer of grease between the paint and the wood, the paint bonds to the grease. And grease does not bond to wood. The result is paint that looks fine for the first few months and then starts separating from the surface, usually at the edges where contact stress is highest.
No primer fixes this. A good primer applied over a greasy surface will fail the same way. The grease has to come off first.
 1")
What Do You Need to Degrease Kitchen Cabinets?
- Dedicated degreaser (TSP substitute or Krud Kutter)
- Warm water and a bucket
- Sponges or clean rags
- Rubber gloves and eye protection
 2")
Standard household cleaners are not strong enough for this job. Dish soap and all-purpose spray are formulated to handle fresh kitchen messes, not months or years of accumulated cooking residue and oil buildup. Use a dedicated degreaser. TSP substitute is available at most hardware stores and cuts through cooking grease effectively. Krud Kutter is a similar product that is slightly more DIY-friendly.
Step 1: Why Must You Remove Everything Before Degreasing?
You cannot degrease cabinets properly with everything still in place. The hardware creates shadow areas that do not get cleaned, and the work goes faster with everything removed and laid flat. Remove every door, drawer front, and all hardware before you start.
If you are following the full cabinet painting process, degreasing fits in as Step 2, right after removal and before any sanding or primer.
Step 2: How Do You Mix the Degreaser Solution?
Follow the dilution instructions on the product you are using. Most TSP substitutes are mixed at roughly one quarter cup per gallon of warm water. Krud Kutter is typically used at full strength or light dilution for heavy buildup. Use warm water, as it helps the degreaser work more effectively. Wear gloves throughout.
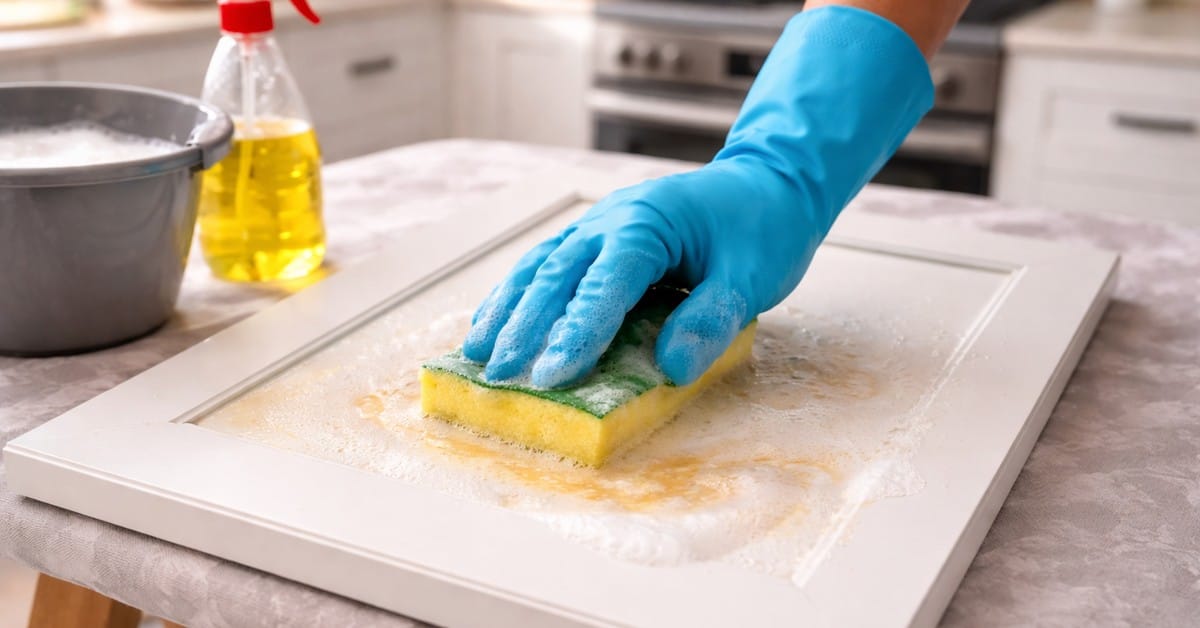
Step 3: What Is the Right Way to Clean Every Cabinet Surface?
Start with the cabinet box (the frames that stay fixed to the wall). Wipe down every surface: the face frame, the interior sides visible when doors are open, and the top edges. Pay particular attention to the area directly above and beside the stove or range where the heaviest grease concentration builds up. It may take more than one pass on those areas.
After the box, clean all door fronts and drawer fronts. Work both faces of each door. Apply the degreaser solution with firm strokes. You are letting the chemistry lift the contamination off the surface, not scrubbing for physical abrasion.
Step 4: Why Do You Need to Rinse After Degreasing?
This is the step most people skip. The degreaser solution itself leaves a residue. If that residue is still on the surface when you prime, it creates the same adhesion problem you were trying to eliminate.
Wipe every cleaned surface with a clean rag dampened with clean water. Change out the rinse water frequently so you are actually rinsing, not just redistributing contamination.
Step 5: Why Should You Always Do a Second Cleaning Pass?
Two passes is standard for kitchen cabinets that have been in regular use. The first pass breaks down the bulk of the contamination. The second pass catches what got left behind, especially in corners, at the edges of doors, and in any recessed areas. Most people skip this because the cabinets feel clean after the first pass. Do it anyway.
Step 6: How Long Should You Wait After Degreasing Before Priming?
Before primer goes on, the cabinets need to be completely dry. Any moisture trapped under primer causes adhesion failure and, over time, can lead to mold or mildew growth. In normal conditions a few hours is sufficient. In a humid environment or if the cabinets absorbed a lot of water during cleaning, give them more time. Overnight is safer.
How Do You Know If Your Cabinets Are Fully Degreased?
Run the back of a clean, dry white rag across a cleaned surface. If the rag picks up any yellow, brown, or greasy residue, the surface is not clean enough. Repeat the degreaser pass and rinse on that area. A properly cleaned surface feels smooth, not tacky, and does not leave anything behind on a clean cloth.
 3")
What Are the Most Common Degreasing Mistakes?
- Using the wrong cleaner. Dish soap, all-purpose spray, or vinegar-and-water are not degreasing agents at the level required for painted cabinets. Use a dedicated degreaser.
- Skipping the rinse. Degreaser solution left on the surface is still a contaminant. The rinse is part of the cleaning process.
- Rushing the dry time. Priming over a damp surface causes adhesion problems. Let everything dry.
- Missing the interior face frame edges. These areas often get skipped because they are not the primary visible surface. They still need to be cleaned.
- Touching cleaned surfaces with bare hands before priming. The oils from your skin will recontaminate what you just cleaned.
What Comes After Degreasing Kitchen Cabinets?
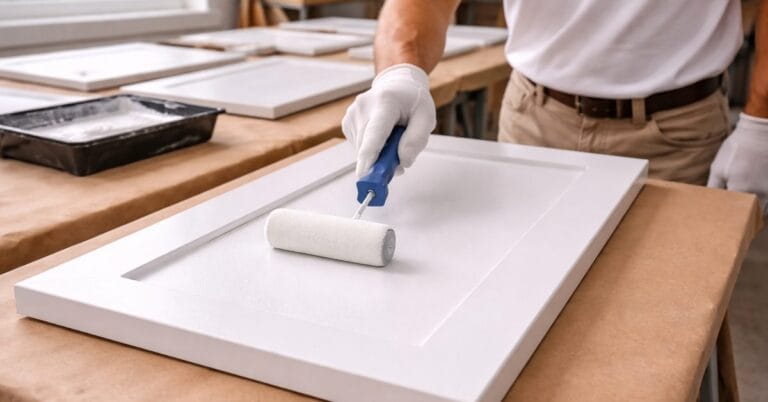
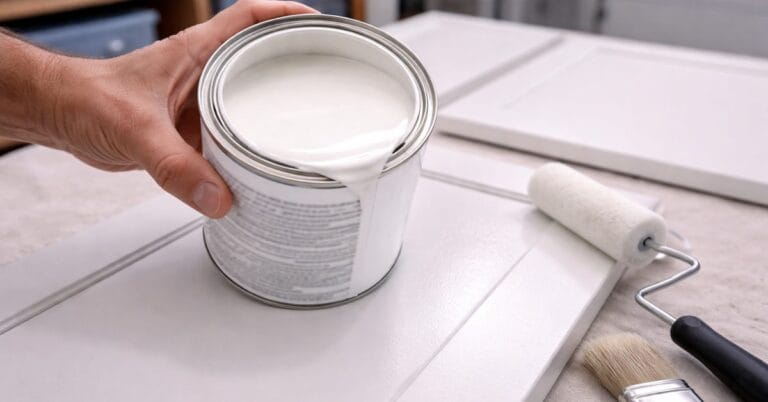
Once the cabinets are degreased and dry, the surface is ready for sanding and primer. Sand with 120-grit to give the primer mechanical adhesion, apply a high-adhesion primer, sand lightly with 220-grit after the primer cures, then move to the cabinet-grade topcoat.
 4")
For product recommendations on the topcoat, best paint for kitchen cabinets covers what actually holds up in a working kitchen.
If you want the work done professionally, take a look at my cabinet painting services. Degreasing, prep, primer, and topcoat are all part of the process.
Cabinet prep and painting is a big part of my work throughout Auburn and Placer County.
I handle exterior and interior painting too. If you need a house painter in Auburn for any project around the property, I cover it all.
Frequently Asked Questions
Can I use dish soap to degrease cabinets before painting?
It is not strong enough. Dish soap is designed for fresh food residue, not the accumulated film of cooking oils and airborne grease that builds on cabinet surfaces over years. Use a dedicated degreaser like TSP substitute or Krud Kutter for the cleaning that needs to happen before primer goes on.
How many times should I clean kitchen cabinets before painting?
Two passes with a proper degreaser solution, followed by a clean water rinse after each. One pass is rarely enough on cabinets that have been in regular kitchen use. The first pass handles the majority of the buildup. The second pass catches what is left.
Do I need to degrease cabinets even if I just cleaned them recently?
Yes. General cleaning with household products is not the same as prepping a surface for paint. Even recently cleaned cabinets will have residue that standard cleaners do not remove. Use a dedicated degreaser and rinse thoroughly before priming.
What happens if I paint over greasy cabinets?
The paint bonds to the grease film rather than the substrate. Since grease does not bond to wood or existing finish the way primer and paint do, the painted layer eventually separates. This typically shows up first as peeling at the door edges or chipping around hardware locations. The only fix at that point is to strip the paint, degrease properly, and start over.
Can I skip degreasing if I am using a paint-and-primer in one product?
No. Paint-and-primer combination products still require a clean substrate. The product description refers to the product's adhesion properties, not its ability to bond over contamination. A greasy surface will cause adhesion failure regardless of what product goes over it.
How long should I wait after degreasing before painting?
Wait until every surface is completely dry. In normal conditions with good ventilation, a few hours is typically enough after the final rinse. In a humid space or if the wood absorbed significant water during cleaning, overnight drying is a safer minimum. Primer going on over a damp surface causes adhesion problems and can lead to bubbling or peeling.
If you want the degreasing, prep, and painting handled from start to finish, schedule a free estimate.