Shiplap accent walls require careful priming before paint, especially on MDF, which is very porous. Prime all surfaces including edges and reveal gaps with a water-based bonding primer. Leave gaps open for the authentic shiplap look or caulk them for a cleaner finish. Use flat for a rustic feel, eggshell for everyday rooms, satin for bathrooms. Classic white is the standard, but shiplap takes color well. The reveal gaps add visual depth to any shade.
Shiplap accent walls have become trendy in the last few years, and I understand why. The texture and visual interest are appealing. But shiplap presents specific painting challenges that most homeowners don’t anticipate. The gaps between boards, the revealed edges, the material type (real wood or MDF), and the finish choice all affect how your shiplap looks when painted. I’ve painted hundreds of shiplap accent walls. You can see examples in my painting portfolio throughout Auburn and the foothills, and I want to walk you through the decisions you need to make, before you pick up a brush, to make sure your shiplap accent wall looks professional and lasts.
The good news: shiplap is very paintable. The bad news: skip the prep work or make the wrong material choice during installation, and you’ll be repainting in two years.
What Is Shiplap and How Does Real Wood vs. MDF Affect Painting?
Before you paint shiplap, you need to understand what you’re painting. Not all shiplap is the same.
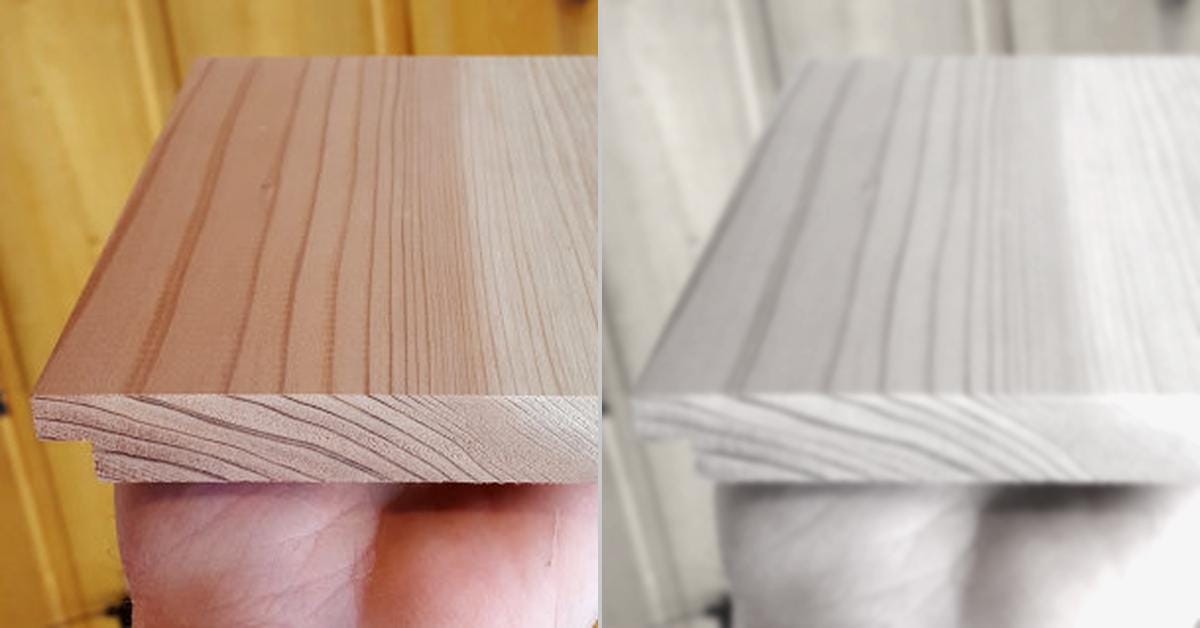
- Real wood shiplap. These are actual wood planks, usually pine, cedar, or hardwood, with a distinctive horizontal lap profile. The boards overlap slightly, creating a reveal gap between each board. Real wood shiplap is more expensive, looks more authentic, and has character (natural grain variation, knots, color variation). But real wood expands and contracts with humidity, which affects paint adhesion and can cause cracking.
- MDF (medium-density fiberboard) shiplap. This is engineered wood, compressed wood fibers in a binder. MDF shiplap is cheaper, uniform in appearance, and more stable (less expansion and contraction). But MDF is more porous, absorbs moisture more readily, and the edges (which are visible in the reveal gaps) are especially porous and prone to swelling if not sealed properly.
Most residential shiplap used in modern homes is MDF, not real wood. If your shiplap was pre-finished by the manufacturer (primer or paint already applied), it’s almost certainly MDF. Real wood shiplap would need a custom finish and would be a special order.
Why Is Priming Shiplap the Step Most People Skip?
This is the most critical step, and it’s where DIYers go wrong.
If you want professional results, take a look at my specialty painting services.
- Real wood shiplap priming. If you have real wood shiplap, use a high-quality shellac-based or water-based bonding primer. A bonding primer sticks to the waxy surfaces of wood better than standard primer. Apply primer to all surfaces, the face of the planks, the edges, and especially the reveal gaps and ends. Real wood has grain and can have tannic bleed issues (especially on cedar and redwood), so a quality primer blocks these issues before they happen.
- MDF shiplap priming, this is critical. MDF absorbs water and primer unevenly, especially at the edges. You must prime MDF thoroughly, paying special attention to the edges and the reveal gaps where the raw MDF is exposed. If you don’t prime the edges adequately, they’ll swell and look bad. Use a water-based bonding primer and apply at least two coats to edges and end grain. Some painters use a dedicated primer for MDF and engineered wood products.
- Don’t skip primer. Some people think they can paint MDF shiplap with paint only, no primer. This is a mistake. Paint doesn’t stick to MDF well without primer, and you’ll get peeling within a year or two. Primer is non-negotiable on MDF.

Should You Caulk the Joints and Gaps in Shiplap?
One of the signature features of shiplap is the reveal gap between boards. You have a choice: caulk those gaps or leave them open.
- Leaving gaps open (authentic look). This is the traditional approach and the reason shiplap looks like shiplap. The gaps are visible and create texture and shadow. The downside: dust and debris collect in the gaps, and if you ever need to repaint, the paint will sit on the edges of the planks and in the gaps, requiring careful work. Benefits: authentic shiplap aesthetic, easier to paint initially (you don’t have to be as precise), and lower cost (no caulk).
- Caulking all gaps (cleaner look). Some people caulk the gaps for a more finished, uniform appearance. This gives a smoother, less textured look. Use paintable caulk (not silicone) that matches your primer. Apply caulk to the top and bottom of each board where it meets the reveal, or to the edges of all gaps. Let it cure fully before painting. Benefits: cleaner, more uniform appearance, easier to clean (dust doesn’t settle in gaps), and easier to repaint. Downside: you lose some of the character and texture of shiplap, and it takes extra time and cost.
The choice is personal. I see both approaches in Auburn homes. The authentic, gap-showing approach is more popular, but the caulked approach has a place in modern, minimalist spaces.
What Color Choices Work for a Shiplap Accent Wall?
Shiplap is often painted all-white, but that’s not your only option.
- Classic all-white shiplap. Bright white or off-white is the standard. It’s fresh, clean, and makes the shiplap texture pop with shadow and light. Most interior design magazines show white shiplap. If you’re not sure what to do, white is the safe choice. Use a soft white (not pure white) or off-white (like Benjamin Moore Chantilly Lace or Cloud White) rather than stark white.
- Shiplap in color. You can absolutely paint shiplap a bold color, a pale blue, soft sage green, warm gray, or even a darker moody color. The texture of shiplap makes even subtle colors more interesting because the highlight and shadow in the gaps add visual depth. If you go color, stick with one accent wall of shiplap; a whole room in colored shiplap can feel heavy. A soft, warm color works better than a bright or cool color.
- Mixed color shiplap. Some people paint the face of the planks one color and the edges/gaps a contrasting color for visual interest. This is a design choice, but it’s more complicated to execute. Stick with one color if you’re DIYing. For broader color guidance specific to Auburn homes, see my guide on choosing an accent wall color for the foothills.

What Sheen and Finish Should You Select for Shiplap?
The sheen you choose affects how the texture looks and how durable the finish is.
- Flat finish. Flat paint has no sheen and looks velvety. It really shows off the texture and shadow of shiplap, the gaps and reveals look deeper and more dramatic. The downside: flat paint shows imperfections, dust, and marks easily. It’s not washable and not ideal for kitchens or bathrooms. Use flat finish in a bedroom or living room where the shiplap is primarily decorative and traffic is light. For a classic, rustic shiplap look, flat is the choice.
- Eggshell finish. This is a good middle ground. Eggshell has a very subtle sheen that catches light and makes color look richer. It still shows texture beautifully but is more durable and cleanable than flat. Eggshell works in most rooms and is practical if you think you might need to wipe down the wall occasionally.
- Satin finish. Satin has more sheen and is very durable and cleanable. Use this in bathrooms or kitchens where moisture and splashes are possible. The downside: higher sheen can sometimes make the texture look less dramatic (the light bounces evenly rather than creating shadow in the gaps). But satin will hold up better in high-moisture areas.
What Painting Technique Avoids Common Shiplap Painting Mistakes?
The technique matters more with shiplap than with flat walls.
- Use a small roller or brush and roller combo. A small foam roller (4-6 inches) works well for the face of the planks. A brush is essential for the edges, gaps, and corners. Don’t try to spray shiplap unless you have professional experience, overspray and mist will settle on the exposed edges and look bad.
- Work top to bottom. Start at the top of the wall and work down. Any paint that drips or runs will flow downward into areas you’re about to paint, so it blends in. Don’t work bottom to top.
- Don’t let paint fill the gaps. This is a common mistake. If you apply paint too thickly or don’t work carefully, the gaps between boards will fill with paint and lose their definition. Use thin, even coats and be light-handed around the gap areas. The gaps should remain visible and empty (or caulked, if you chose that approach).
- Back-brush as you go. If you’re using a roller, immediately go back over the area with a brush to feather and blend, preventing lap marks and ensuring even coverage.
- Be patient between coats. Shiplap, especially MDF, absorbs paint. You’ll likely need two coats for good coverage. Let the first coat dry completely (usually 4-6 hours for latex) before applying the second.
What Pre-Installation Considerations Should You Know About?
This is advice for people installing shiplap, not painting existing shiplap, but it matters. If you’re having shiplap installed, here’s what contractors should do:
- Real wood shiplap should be back-primed before installation. The back side of the planks (the side against the wall) should be sealed with primer before installation. This prevents moisture from being absorbed from the wall side, which can cause warping and cracking on the front.
- MDF shiplap benefits from edge sealing before installation. The top edges of boards should be sealed before installation to prevent moisture absorption and swelling.
If your shiplap is already installed and wasn’t back-primed, don’t worry. It’s done. Just make sure to prime the front thoroughly, which you’d be doing anyway.
How Does the Cost of Shiplap Compare to Just Painting a Wall?
A common question: is it worth installing shiplap for an accent wall, or should I just paint the wall?
- Installing and painting shiplap: Material cost ($2-8 per linear foot depending on real wood vs. MDF), installation labor ($8-20 per sq ft), primer and paint. Total for a typical 10×8 foot wall: $500-2000 in material and labor, depending on quality.
- Just painting an accent wall: Paint and primer only, roughly $50-150 for the paint. Labor if hiring a painter: $200-400 for a single accent wall.
Shiplap is significantly more expensive than just painting. If budget is tight and you want visual interest, consider a bold accent color instead. If shiplap is important to you, the cost is justified for the look.

Shiplap accent wall painting is part of the specialty interior work I do throughout Auburn and Placer County. If you need a house painter in Auburn who handles priming, prep, and finishing correctly on shiplap, take a look at what I offer.
Frequently Asked Questions
Does shiplap need to be primed before painting?
Yes, absolutely. Especially if it's MDF. Use a water-based bonding primer and apply it thoroughly to all surfaces, with special attention to edges and the reveal gaps. MDF is very porous and will absorb paint unevenly without primer. Real wood also benefits from a quality primer to prevent tannic bleed and improve paint adhesion.
What sheen should I use for a shiplap accent wall?
Flat finish shows off the texture and shadow beautifully but shows marks easily. Eggshell is a good middle ground, it's durable and shows texture nicely. Use satin in bathrooms or kitchens where durability and cleanability matter. For a classic, rustic look, flat is best. For practical, everyday rooms, eggshell.
Can you paint shiplap a dark color?
Yes, you can paint shiplap a dark color. The texture and gaps in shiplap add visual interest even in dark colors. A dark moody blue, charcoal, or forest green on shiplap can be striking. The shadow and highlight in the reveal gaps prevent the dark color from looking flat. Choose a warm dark color rather than a cold one for a more inviting feel.
Does shiplap work in bathrooms?
Shiplap can work in bathrooms if it's properly sealed and painted. Use satin finish paint for durability and moisture resistance. Real wood shiplap is riskier in a humid bathroom than MDF because wood expands and contracts with moisture changes. If installing shiplap in a bathroom, ensure good ventilation and consider MDF over real wood. Avoid shiplap directly behind a shower or in constant moisture areas.
What's the difference between shiplap and nickel gap?
Shiplap boards overlap and create a reveal gap (a visible gap between boards from the front). Nickel gap boards are cut to have a small, uniform gap between them, like the width of a nickel. Both create texture, but shiplap has the overlapping profile; nickel gap is just evenly spaced boards. Shiplap is more traditional; nickel gap is more modern and uniform. Painting technique is similar for both.
How much does it cost to install and paint a shiplap accent wall?
For a typical 10x8 foot accent wall: MDF shiplap material ($150-300), installation labor ($300-800), priming ($50-100), paint ($50-100). Total: roughly $550-1300 depending on material quality and local labor rates. Real wood shiplap costs more. If you're DIY painting only (shiplap already installed), budget $100-200 for primer and paint plus your time.